English
mTLS (Mutual TLS)
What is mTLS?
mTLS (Mutual TLS) is an enhanced authentication mechanism compared with traditional one-way TLS:
- Traditional TLS: only the client verifies the server certificate (for example browsing HTTPS websites)
- mTLS: both client and server verify each other's certificates
Security Benefits
- ✅ Mutual identity verification
- ✅ Zero-trust style access control: no valid client certificate, no access
- ✅ Protection against man-in-the-middle attacks
- ✅ Defense in depth: even if a service has vulnerabilities, attackers cannot access it without valid certificates
This document explains how to enable and use mTLS in Next Terminal.
Configuration Steps
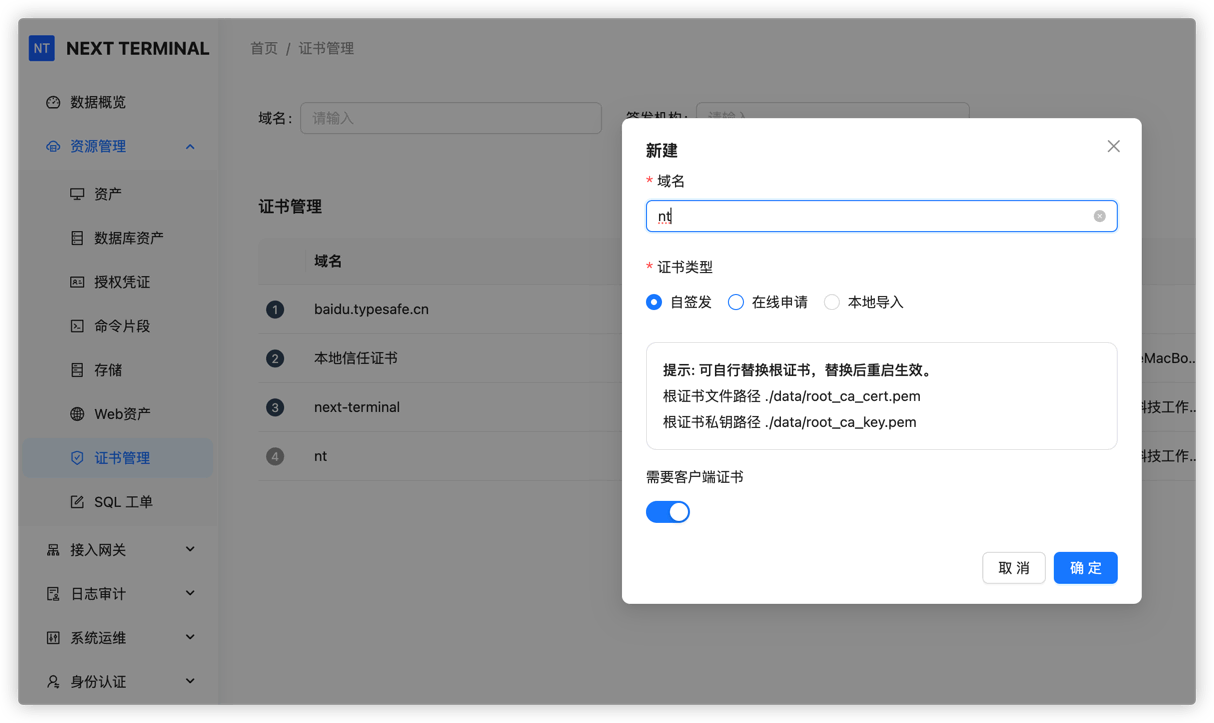
1. Generate server certificate
As administrator, create a certificate in Certificate Management:
- Choose Self-signed
- Check Require client certificate
- Fill certificate information (domain, validity period, etc.)
- Save
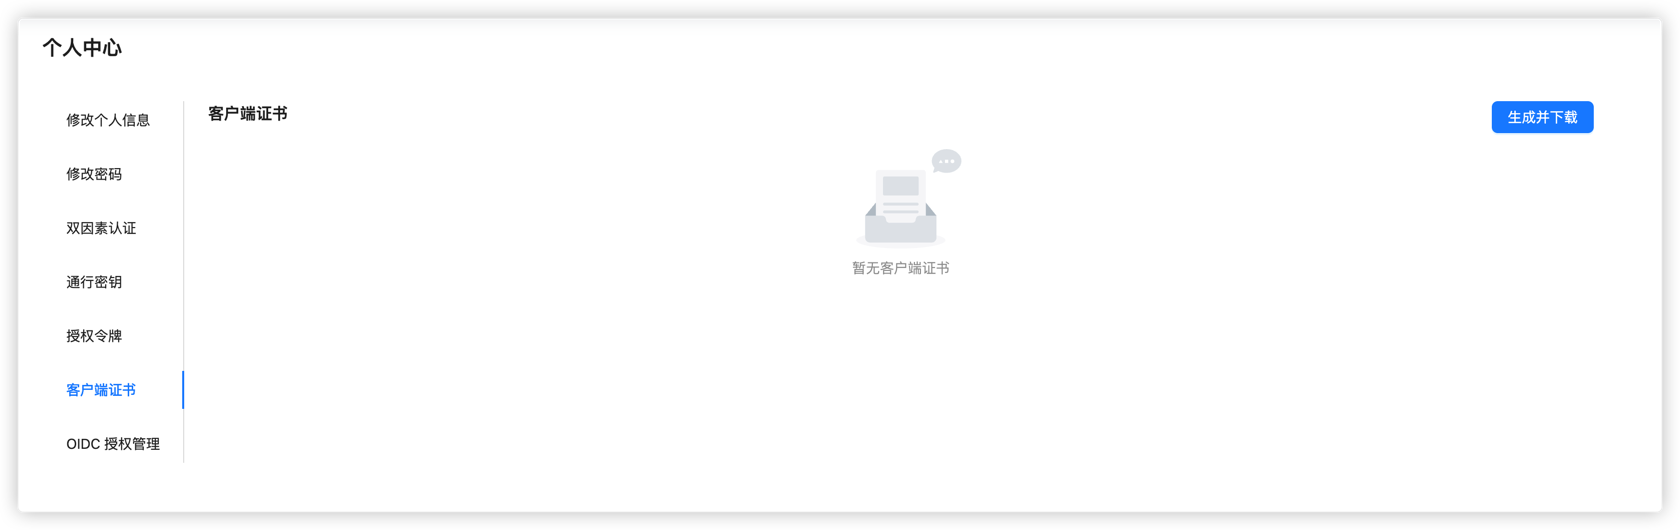
2. Download client certificate
Each user can download a personal client certificate from Personal Center:
- File naming format:
{username}-client.p12 - Certificate includes user identity info
- Each certificate is unique and should not be shared

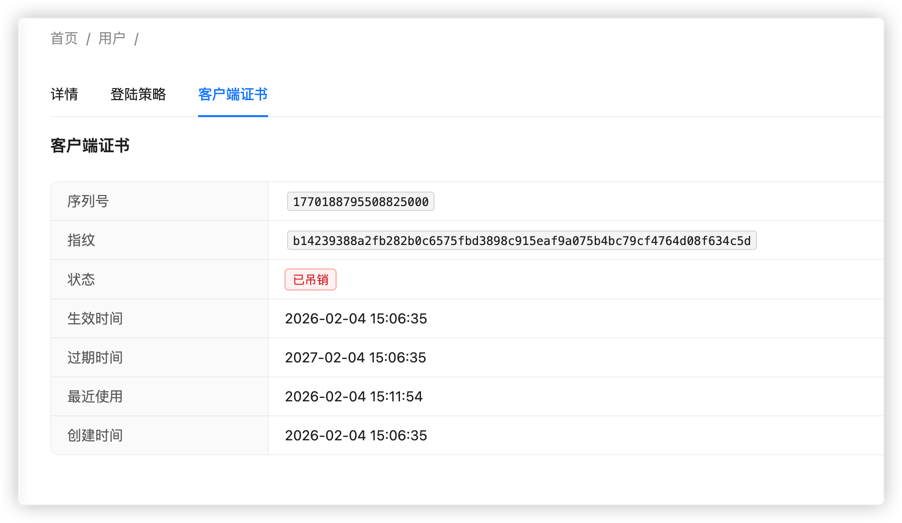
3. Certificate management
Administrators can manage user certificates on the user details page:
- View certificate
- Revoke certificate
- Re-issue certificate
⚠️ Note: once revoked, the user cannot access mTLS-protected resources until a new certificate is issued.
4. Install client certificate (macOS example)
4.1 Import certificate into Keychain
- Open Keychain Access
- Drag
.p12file into System -> Certificates - Enter certificate password (if set)
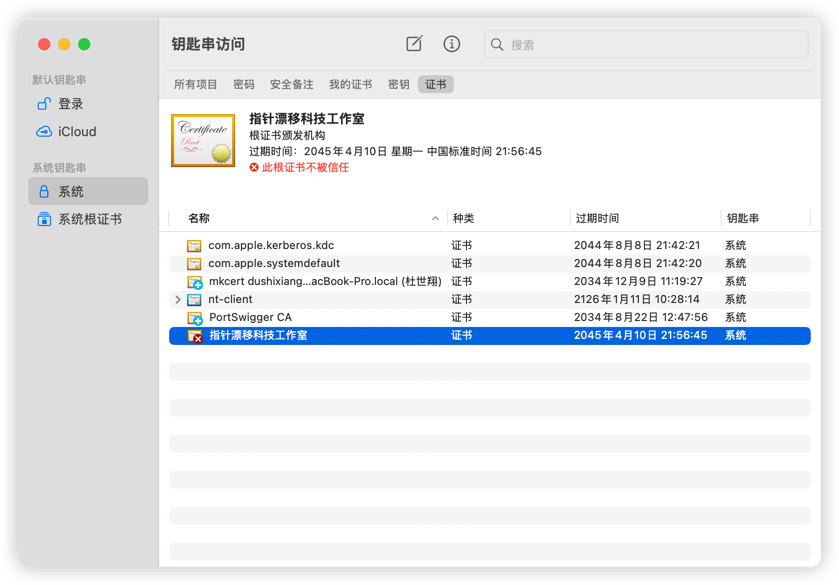
4.2 Trust certificate
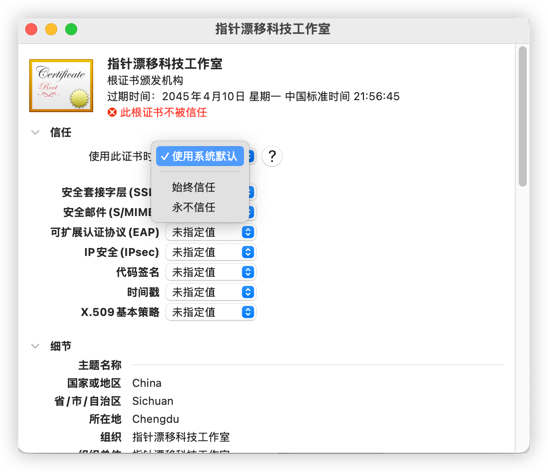
- Double-click the imported certificate
- Expand Trust
- Set When using this certificate to Always Trust
- Close window and confirm with system password
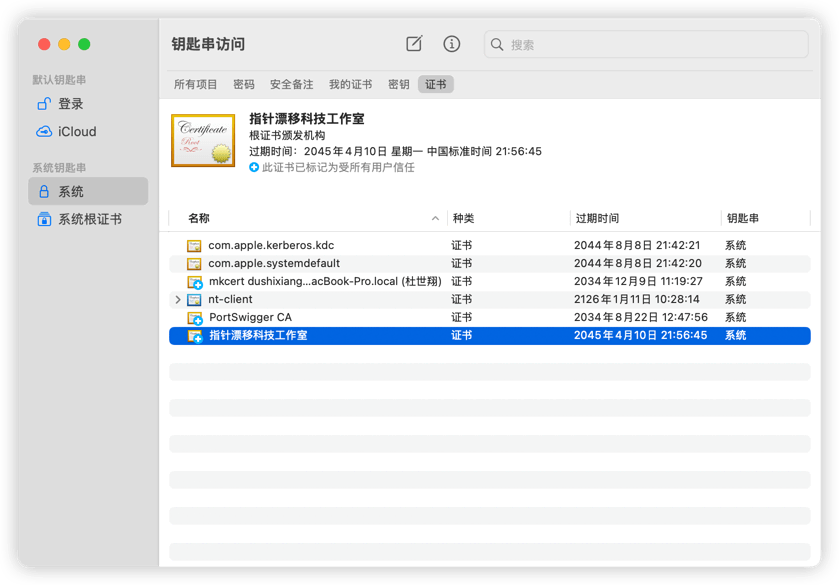
4.3 Verify certificate status
After setup, the certificate should show as trusted.
💡 Other operating systems
- Windows: double-click
.p12, import into Personal store via Certificate Import Wizard- Linux: import with browser certificate manager (Firefox/Chrome)
5. Bind certificate to Web Asset
In Asset Management, assign the certificate to the Web Asset that requires mTLS:
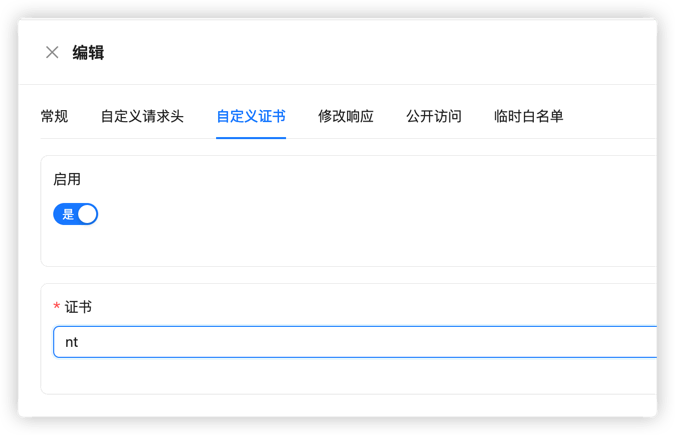
- Edit Web Asset
- In Custom Certificate, choose the generated certificate
- Save
6. Access test
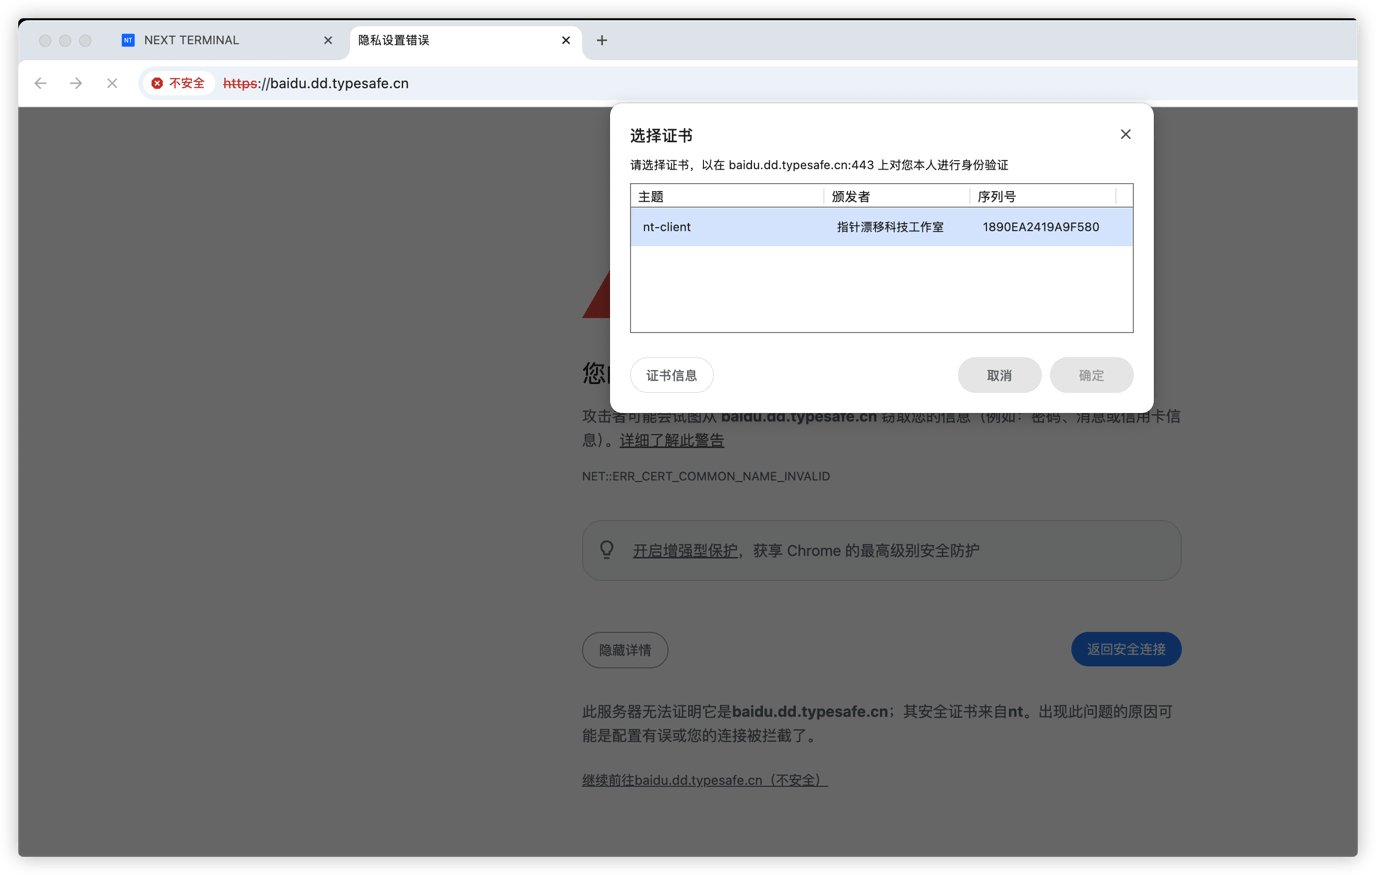
After configuration:
- Browser prompts for client certificate selection
- Select the installed certificate
- Access is granted after verification
Advanced Configuration
Set default certificate
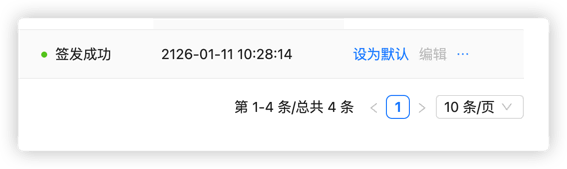
If you want mTLS enabled for all Web Assets by default:
- Open Certificate Management
- Find target certificate
- Click Set as Default
Then all Web Assets without explicit certificate assignment will use this certificate.
⚠️ Note: after setting a default certificate, all users must have valid client certificates installed to access Web Assets.
Best Practices
- Rotate certificates regularly
- Revoke certificates promptly for departed employees
- Set reasonable validity periods
- Apply different certificate policies by asset sensitivity
- Audit certificate usage logs periodically